Exchange 2007 has a lot of great features, such as the uber-powerful Exchange Management Shell. IMHO, Exchange 2007 also has a lot of drawbacks, such as a half-assed GUI. You can only achieve the most basic things through the GUI; anything that requires thought or a little more configuration is done through the cumbersome Exchange Management Shell interface.
To achieve the previously simple task of allowing relay through a vSMTP server, you can go one of two routes. I'm going to document the route that grants least privilege. The MSExchangeTeam blog as well as Technet both have variations on this as well as the Pro's and Con's of using it.
Allow Anonymous Relay
1. Open the Exchange Management Console.
2. Expand Server Configuration > Hub Transport.
3. Select the server in the top pane, and then click New Receive Connector... in the right pane.
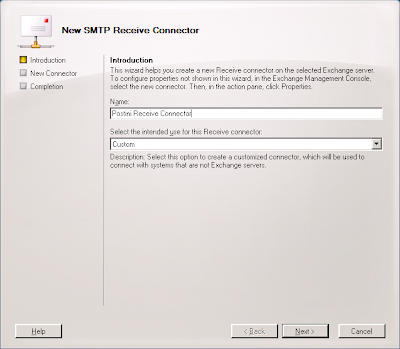
4. Enter a name for the connector, such as "Postini Receive Connector," select "Custom" as the intended use for the connector, and click Next.
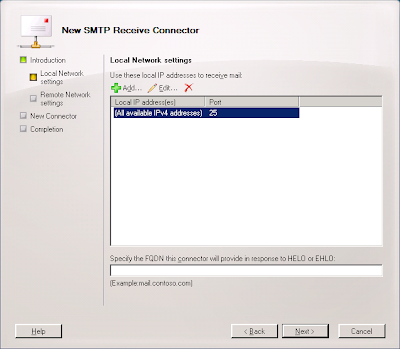
5. Select the "All availble IPv4 addresses" entry and click the Edit... button.
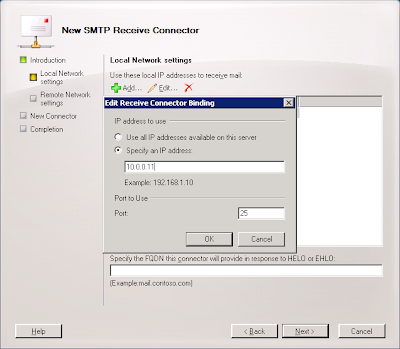
6. Select the "Specify an IP address:" radio button, enter the IP address of the interface that will be communicating with Postini, and click OK.
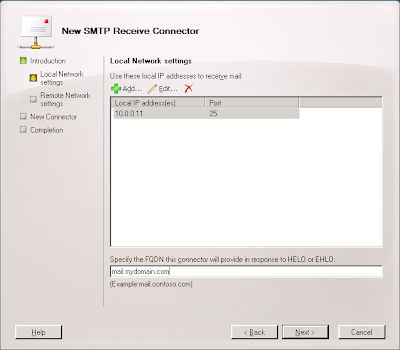
7. Enter the Fully-Qualified Domain Name the connector use to respond to connection attempts (most likely something like mail.mydomain.com) and click Next.
8. Click the 0.0.0.0-255.255.255.255 enter and click Edit....
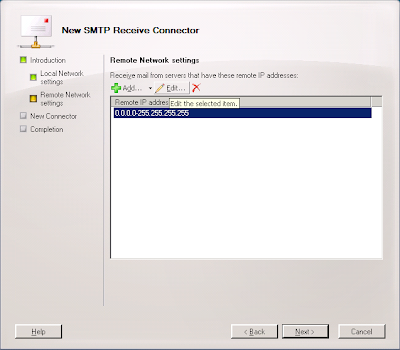
9. Enter the appropriate address range for the Postini system you use. Systems 5, 6, 7, 8, and 20 are 64.18.0.0/20 (64.18.0.0./255.255.240.0); System 9 is 74.125.148.0/22 (75.125.148.0/255.255.252.0); Systems 20, 200, and 201 are 207.126.144.0/20 (207.126.144.0/255.255.240.0) and click OK.
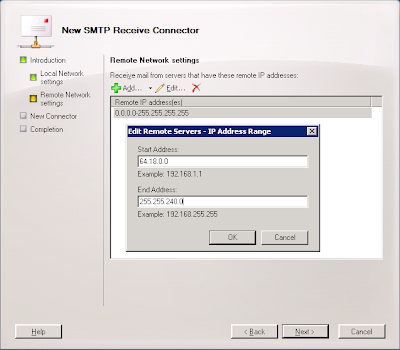
10. Click Next.
11. Click New.
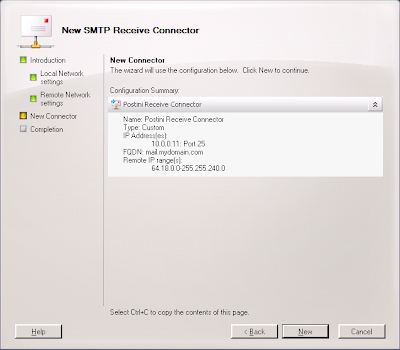
12. Right-click on the new connector, select Properties, select the Authenticaion tab and Ensure "Transport Layer Security" and "Basic Authentication" are selected.
14. Click the Permissions Groups tab and ensure Anonymous Users is selected.
15. Click OK.
So that gets you about half-way there. To finish it up, open the EMS and Copy/Paste the following cmdlet in:
Get-ReceiveConnector "Postini Receive Connector" | Add-ADPermission -User "NT AUTHORITY\ANONYMOUS LOGON" -ExtendedRights "Ms-Exch-SMTP-Accept-Any-Recipient"
Replace "Postini Receive Connector" with the name of the connector you created in Step 4 above.
If you want to use the EMS to create and set the permissions on the new connector, you can use these cmdlets:
New-ReceiveConnector -Name "Postini Receive Connector" -AuthMechanism "Tls,BasicAuth" -Usage Custom -PermissionGroups AnonymousUsers -Bindings 10.0.0.11:25 -RemoteIpRanges 64.18.0.0/20
Get-ReceiveConnector "Postini Receive Connector" | Add-ADPermission -User "NT AUTHORITY\ANONYMOUS LOGON" -ExtendedRights "Ms-Exch-SMTP-Accept-Any-Recipient"
Replace the values for -Name, -Bindings, and -RemoteIPRanges as necessary.
For more information on these types of connectors:
MSExchange Team Blog
Microsoft Technet
No comments:
Post a Comment